It’s a been a few weeks of catching up on some maintenance, getting ready for this riding season. The first job was to get new tires mounted. I went with the Michelin Road 6 GT again. I had around 11,000 miles on the previous set and there were lots of riding left but I like new tires for the start of the season rather than dealing with getting them changed when riding is more important. I’m not a tire snob nor expert but these tires really did handle well, particularly in the rain and I had lots of that last season. I also bought steel valve stems with a right-angle fill, to replace the straight rubber ones.


While the wheels were off I replaced the brake pads. The rears were down to the wear marks and I went ahead and order pads from the front all well. Dummy me, I thought since there were 2 for the back and the front has 2 calipers, I’d need 4 for the front but it takes 4 on each side so I was short 4 when I did the job. That’s OK, I just ordered another set and put them on later.


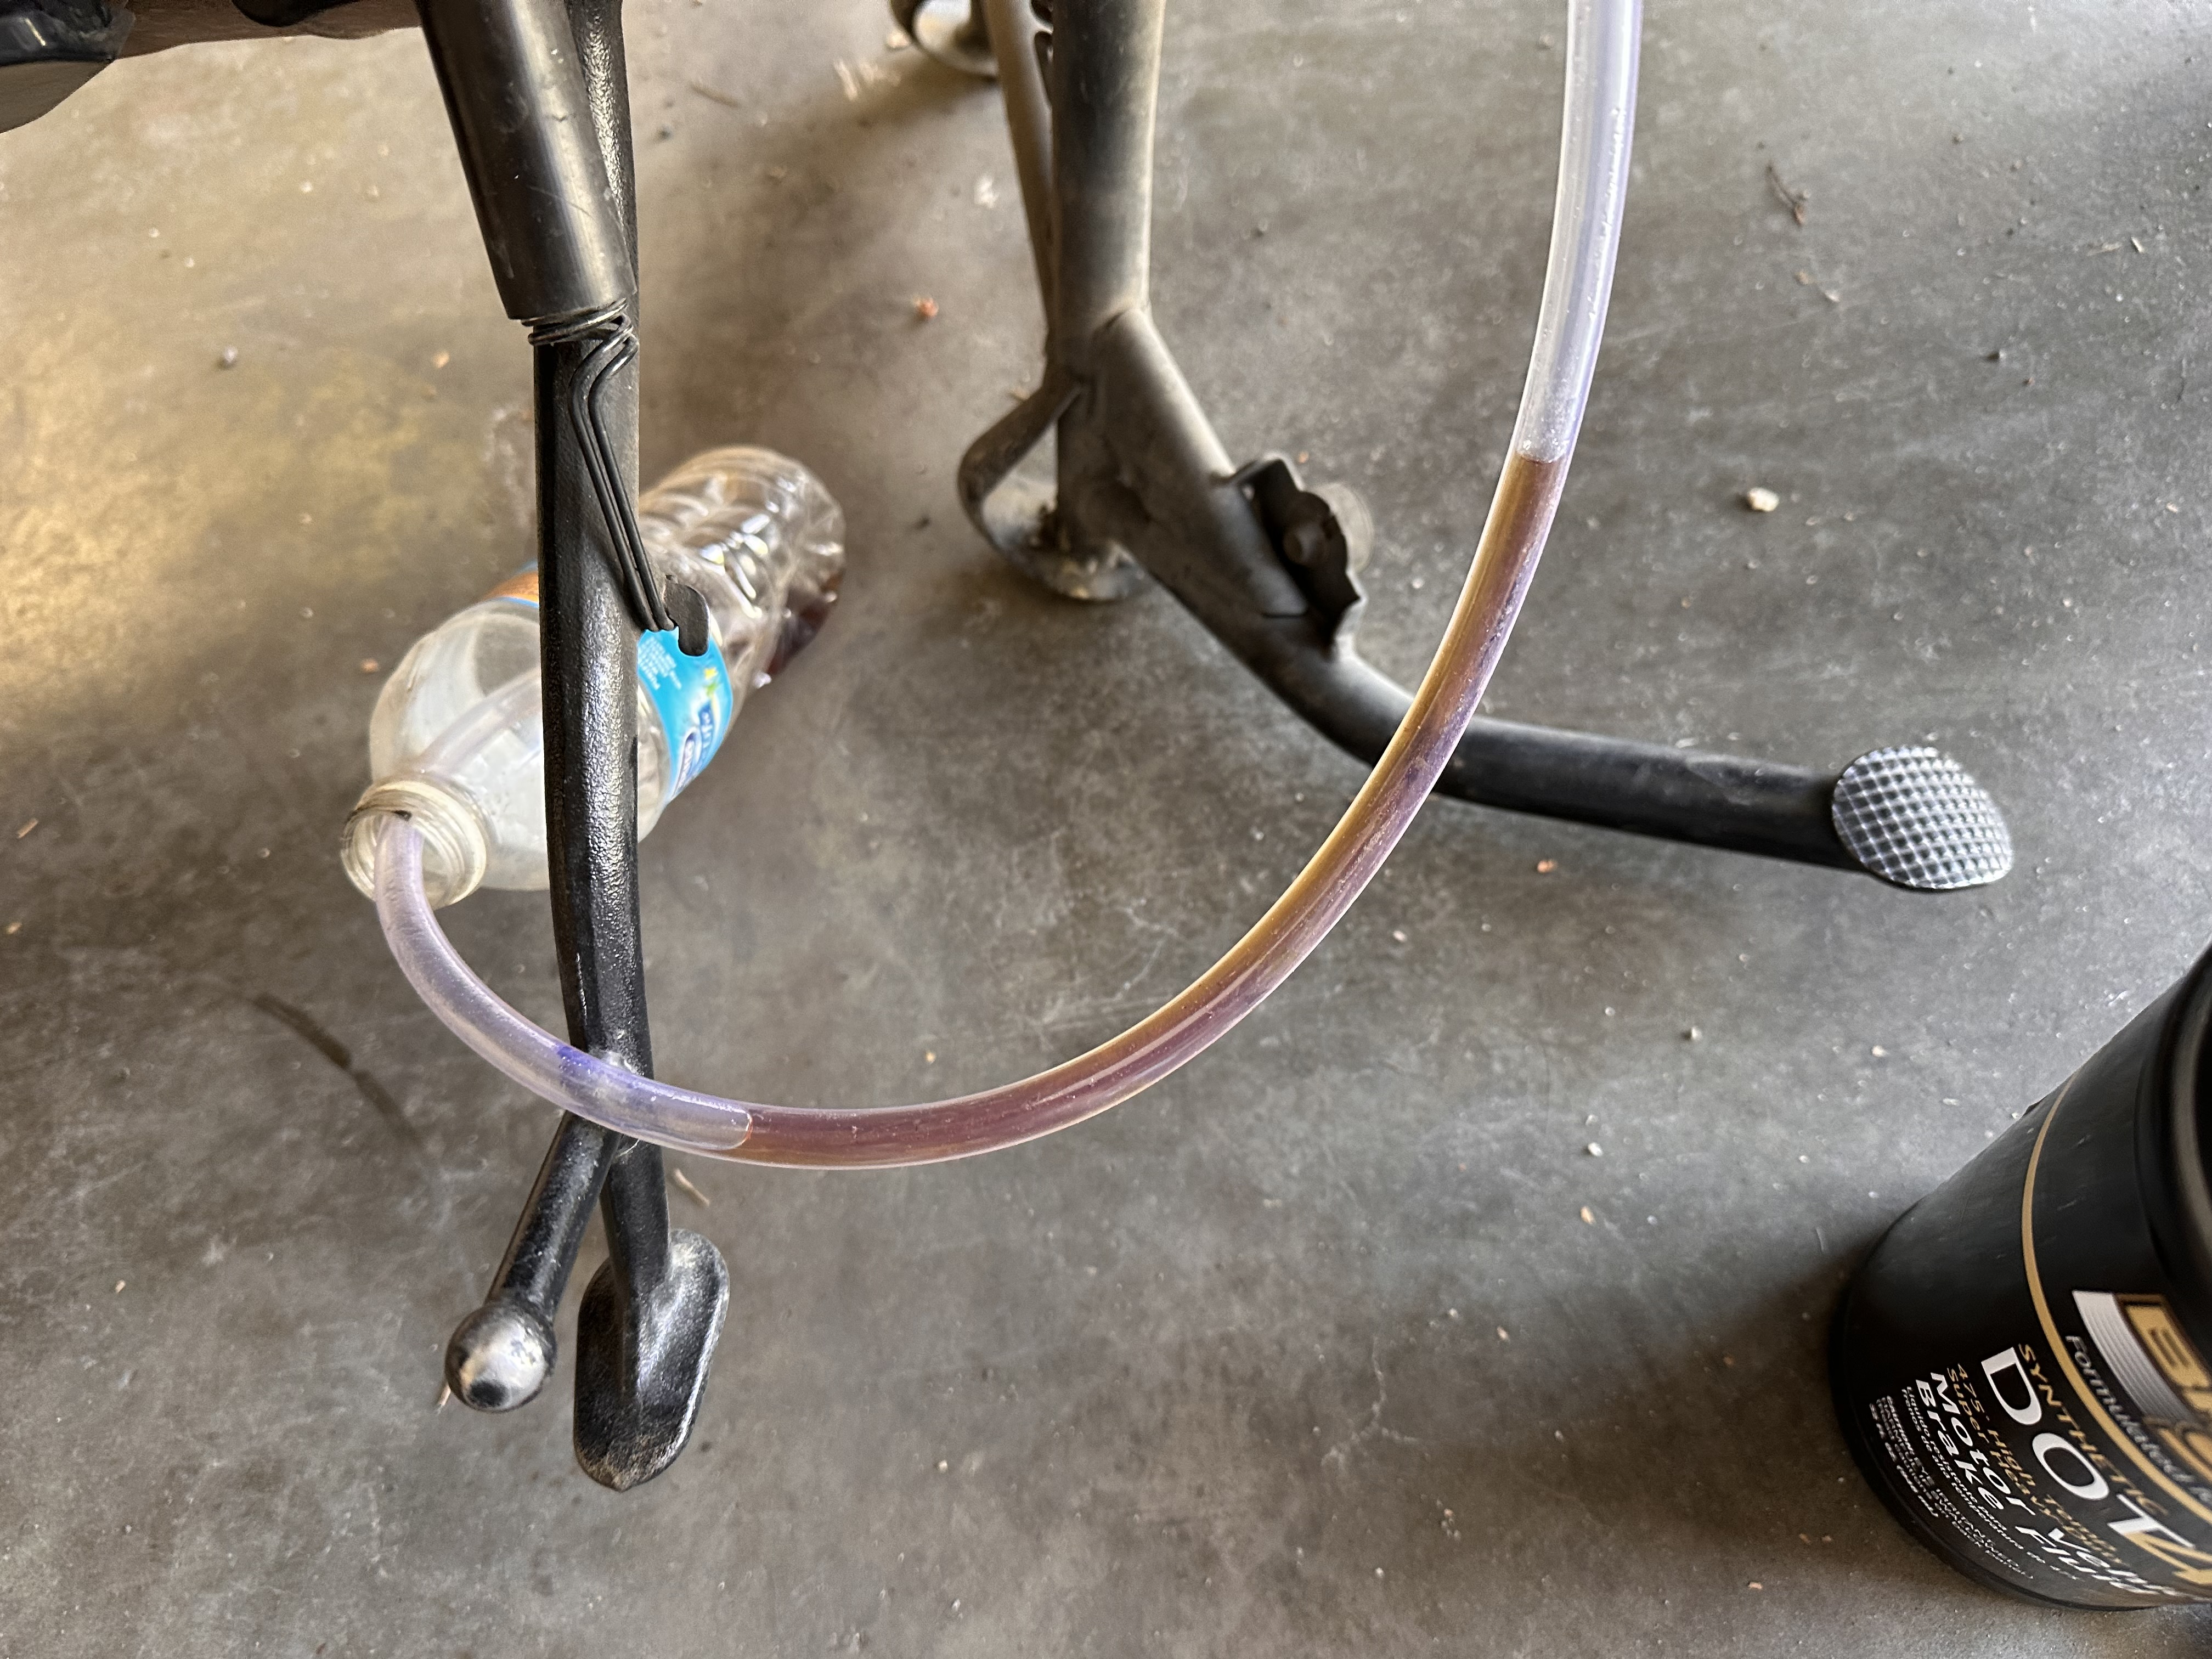
A few days later, with the wheels back on, It was time for a hydraulic fuel flush. I have a vacuum pump but chose to do it the old-fashioned way since both the bleed screw and the brake and clutch levers are within reach. The clutch was pretty straight forward. The fluid didn’t look too bad after 4 years and 40,000 miles. The brake fluid didn’t look too bad either as shown below.

The first step is is to make sure that the side stand safety switch is working. This is the switch that prevents the bike from starting or running when the bike is in gear and the side stand is down. Done.
Next, I removed the battery cover. Under there is a connector that has a dummy plug in it. I pulled the plug and used the alligator clip to jumper two pins.

Now I turn on the ignition, wait until the instrument panel is booted up, and then hold down the start button for 4 seconds. Now the bike is in test mode. Next, I pull the front brake lever and push on the rear brake pedal, both at the same time. I get a pulsing in the front lever, followed by one on the rear pedal, and then the front again. The ABS pump has now brought in new fluid and pushed out the old. Now I flush the front and read as I did before.
The next job, done some days later, is a coolant flush. This is done by the book rather than what some YouTubers suggest like flushing with distilled water and then compressed air. I suppose if the bike had 100K miles on it and had never been flushed, maybe, but that’s not the situation here. Yes, I am over due but the bike was new and I haven’t been riding it hard.
The challenge is that to get to the radiator cap, I have to remove most of the front plastic pieces. I followed an excellent guide online and it went well, although it took about 90 minutes. Once all the plastic was about of the way, I loosened that radiator cap, pulled up a bucket, and removed the coolant drain bolt.

Putting all the plastic pieces back on waited until the next day and took about 90 minutes. The next day I fiddled around with a few more items on my check list. I removed the side heat deflector panel to double-check that I’d tightened up the bolt underneath, which I hadn’t. I also lubed what I could of the latches on the side cases and while they were opened, check that locks were tight. I also checked the tire pressures.
Later that day, Friday, May 2, I took it out for a test ride. I rode out to Shepard, cruised some back roads, and road back.


It ran great and I believe it’s ready for another long season of riding.


No comments:
Post a Comment